
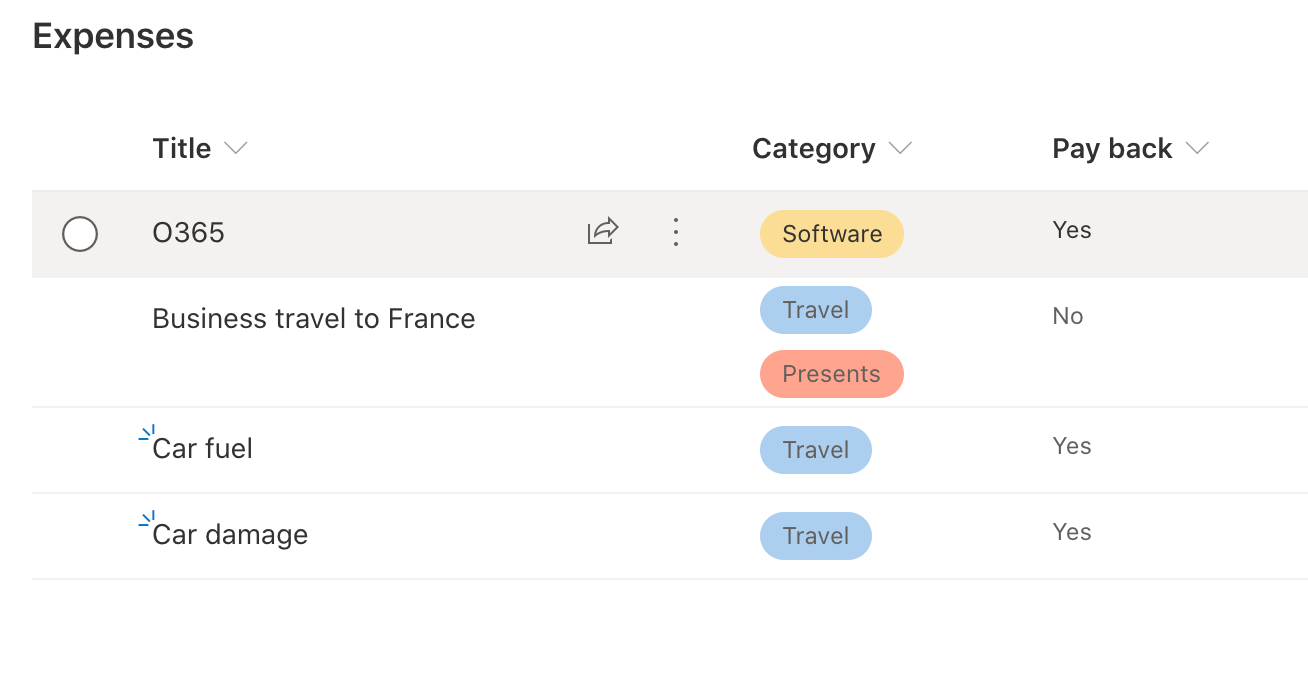
Expenses, tasks, interventions, … can be kept in a SharePoint list.
Each week, we want to receive a summary of this list. We want to receive a table with all data of that list.
For this case, we only want to see list items for which a certain field is set to yes.
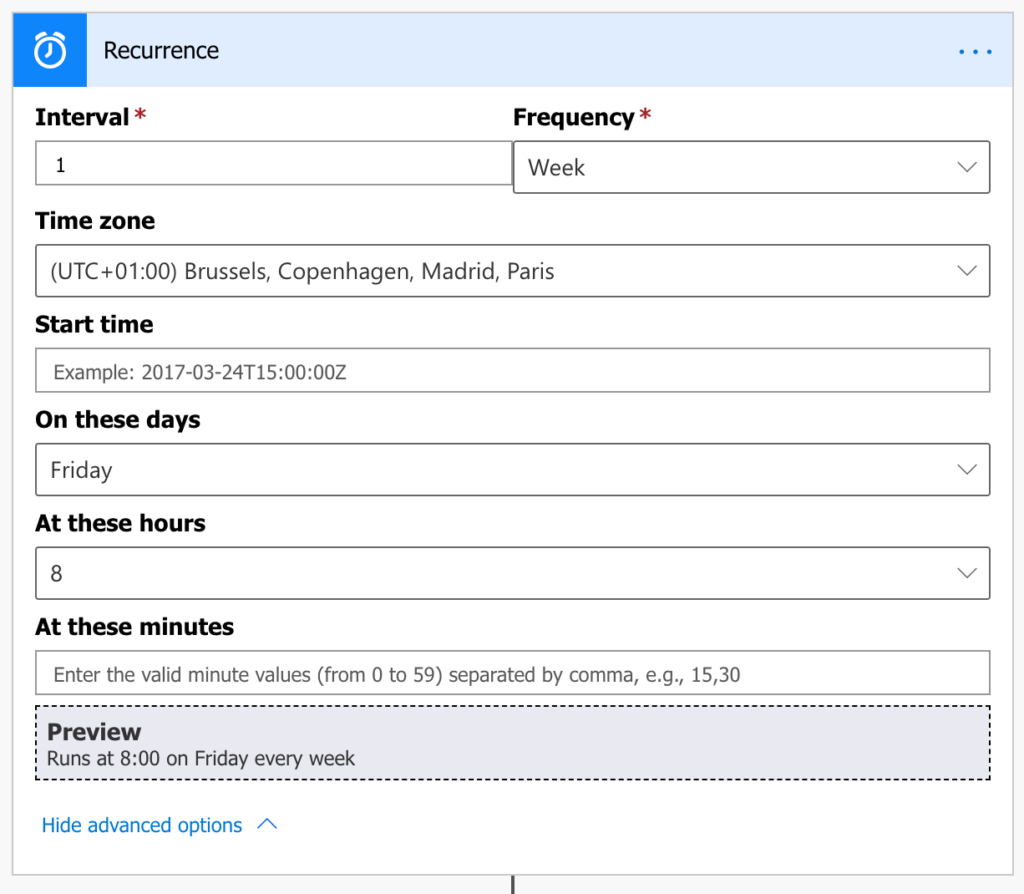
We create a recurring flow that runs every Friday:
As mentioned before, we only want to get list items for which a certain column is set to yes. In this case, we only want to retrieve list items for which the “Pay back” column is set to yes.
Filter the list by setting the “Filter Query” column.
We want to filter a Yes/No column in SharePoint.
A Yes/No column can be defined in the “Filter Query” field as follows:
column_name eq ‘1’ (for true – yes values)
column_name eq ‘0’ (for false – no values)
For more information and examples about “Filter Queries”, check the documentation of Microsoft: In-depth analysis into Get items and Get files SharePoint actions for flows in Power Automate

Pay attention, because this action wants you to enter the internal column name. Not the name you see in the list.
In our case, the column name in the list is: “Pay Back”. If we enter this column name with a space in the “Filter Query”, the flow will fail.
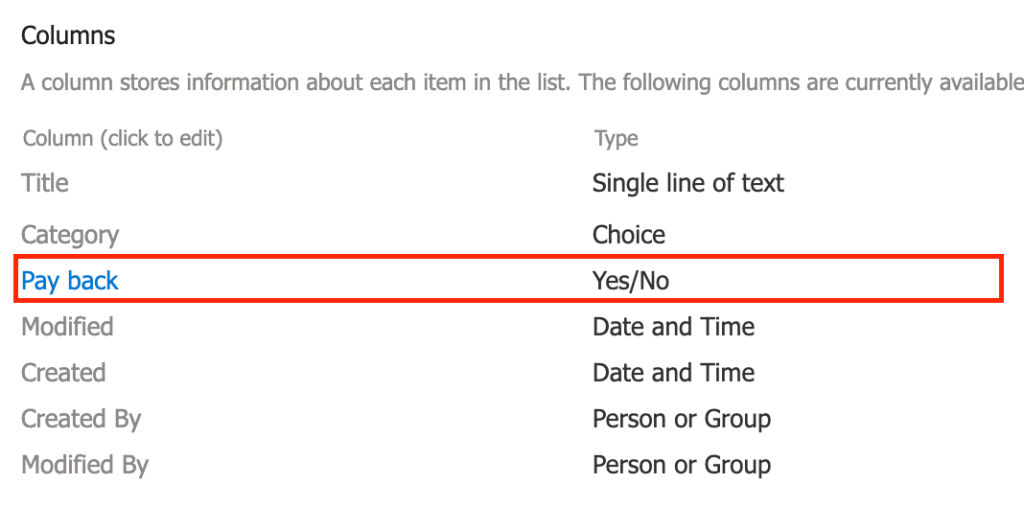
We can find the internal name of a column by clicking “List Settings”:

Select your column name, in our case “Pay back”:
Go to the end of the URL and you’ll see the internal name of your column:

We configured the “Get items” action in our flow. We will only retrieve list items from the “Expenses” list with column “Payback” set to Yes.
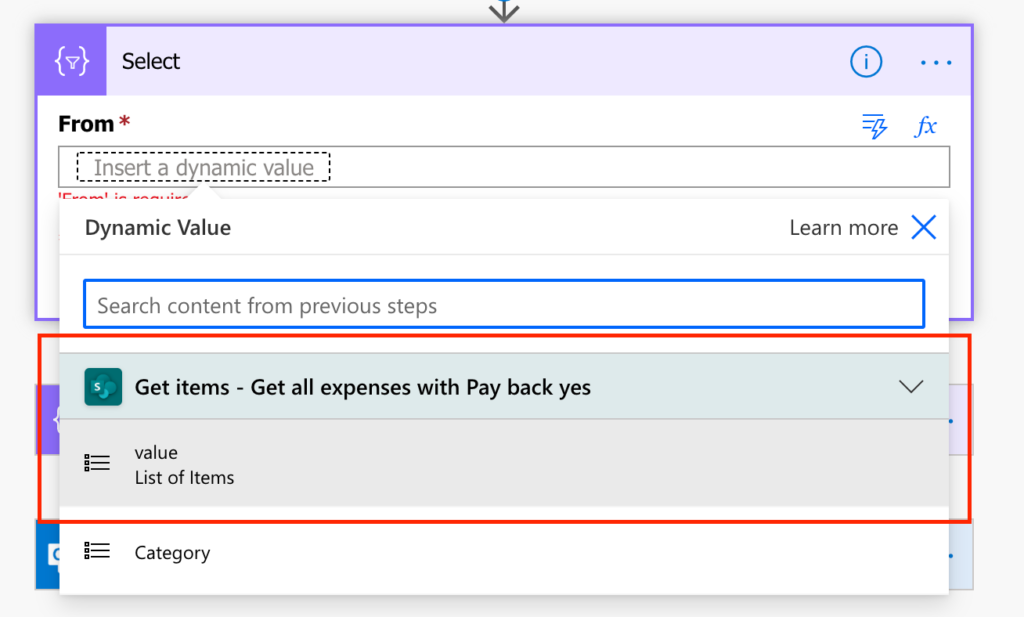
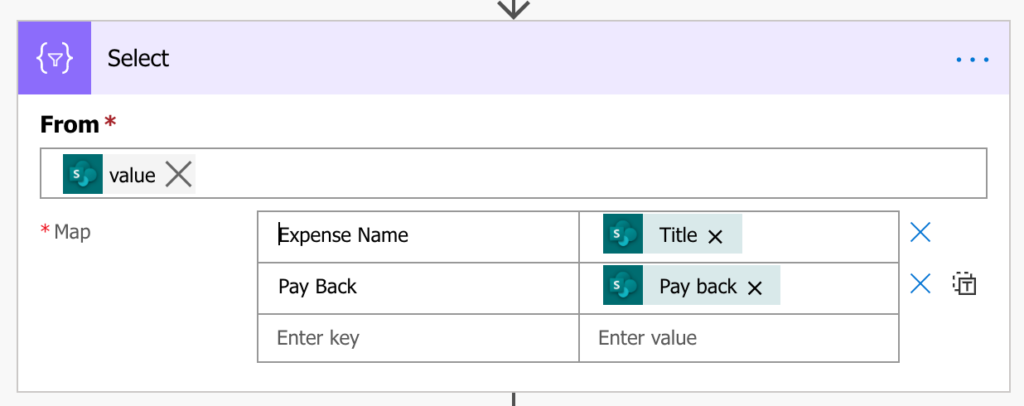
Before you create the HTML table which we can sent by email, we need to select which data we want to add to the HTML table.
Add the “Select” action to your flow. In the “From” field, add the “value” of your previous “Get items” action.
Define keys & values in the “Select” action.
- The keys will be the table headings
- The values will be the values in your table
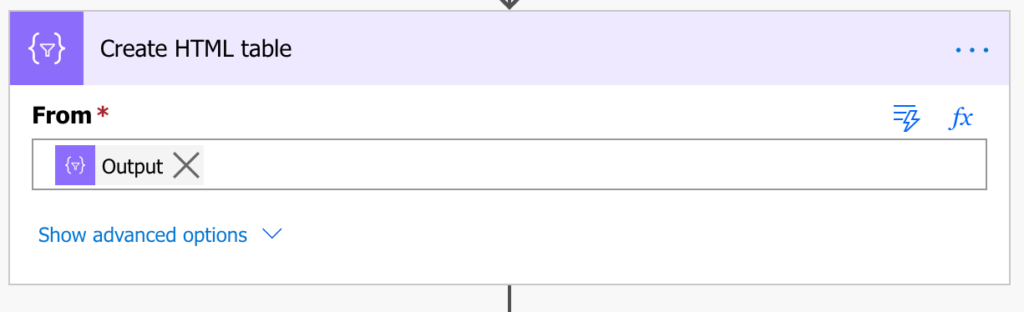
As next action in your flow, add the “Create HTML table” action.
In the “From” field, add the output of the previous “Select” action.
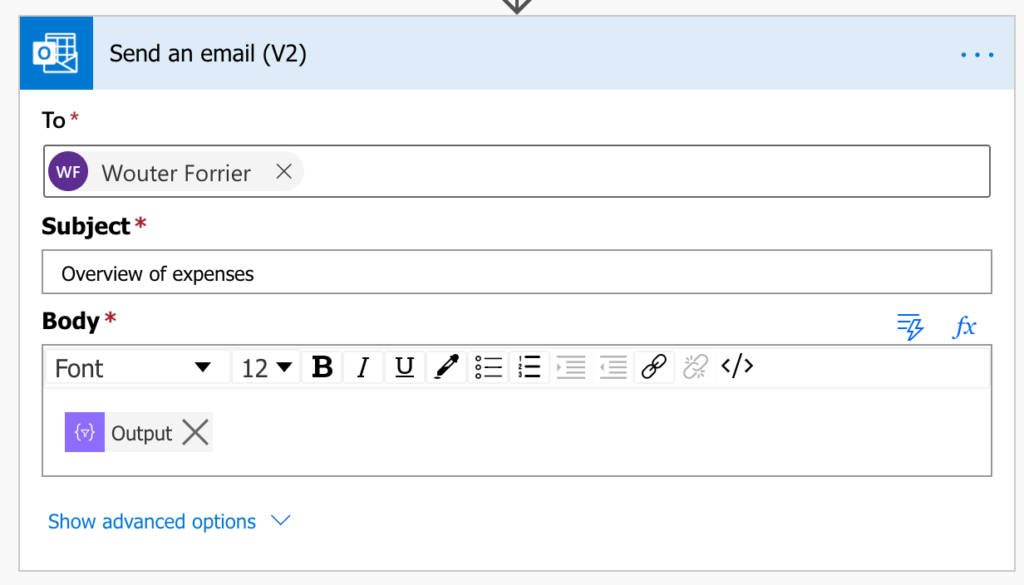
Now we want to send the overview by email. Add a “Sent email” action and add the output of your “Create HTML table” action to the body of the email.
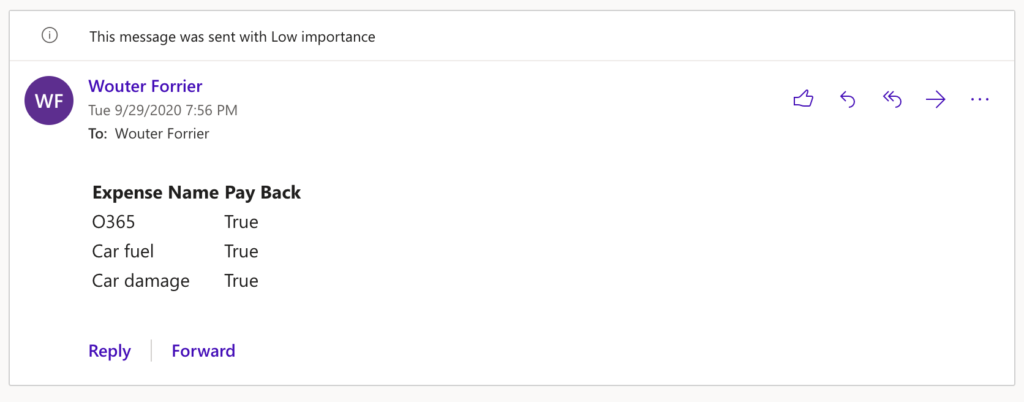
Test your flow, the end result looks like below.
Do you want to style the table? This is possible as well. Check my blogpost about styling a HTML table in Power Automate.
Thanks, this is awesome
Works perfectly, thanks for this!
2023. Very much appreciated, Sir!
Hi,
Great piece, thank you.
Just noticed the link at the bottom (styling a HTML table in Power Automate) does not work though.
Thanks for sharing. I will update it.