After seeing this post on the Power Automate community, I decided to write a blogpost about it.
I not only have a strong interest in automation and the Microsoft Power Platform but also in IoT and electronics. This blogpost was the ideal occasion to share some knowledge.
The question in the Power Automate Community was about logging temperature values to SharePoint, so that’s exactly what we’re going to try.
Be aware that this is a blogpost to learn ESP32, MicroPython, Power Automate and SharePoint. For real-life IoT projects, you better use real IoT platforms like Microsoft Azure IoT.
Some might say that it’s better to use the SharePoint API directly from the ESP32 microcontroller, but because this is a Microsoft Power Platform blog and because of security reasons, we’re going to use Power Automate between the ESP32 and SharePoint.
What do you need?
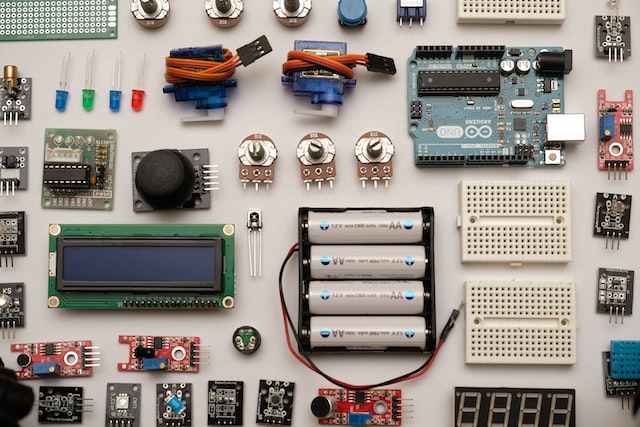
When we talk about combining electronics and ESP32, you not only need cloud software like Power Automate but also some hardware.
Below you find the parts list:
- ESP32 development board: You can buy a very simple 30 pin ESP32 development board, we use one with a micro USB port. Newer ones exist with a USB C port as well.
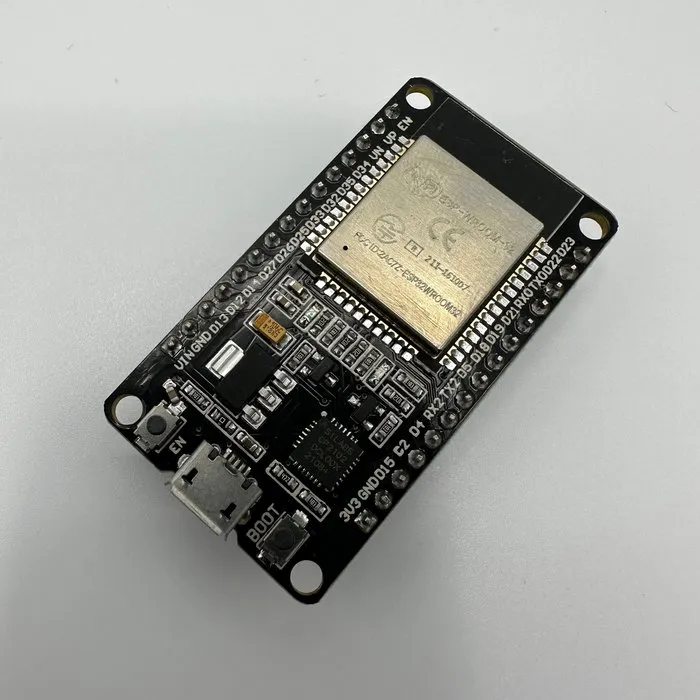
- USB A to Micro USB cable: Make sure it is a data USB cable, not only for charging.
- Jumper cables: You need at least 3 male-female jumper cables to connect the temperature sensor to the ESP32.

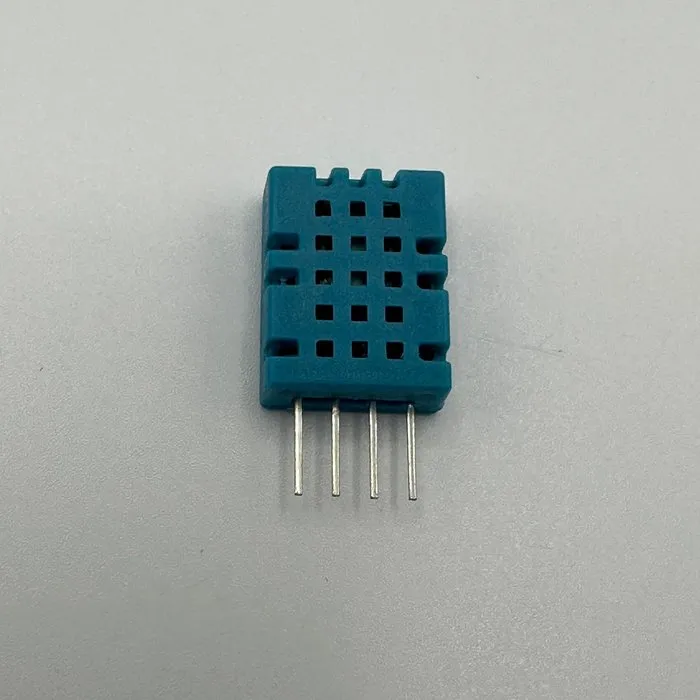
- DHT11 temperature sensor: A DHT11 sensor is perfect for this. You can also use the DHT22 but it’s more expensive.
- Power Automate: You need to create an instant flow with a trigger that accepts HTTP POST requests.
- SharePoint: You need to create a SharePoint site or use an existing one.
Choosing the programming language
ESP32 hardware is compatible with many programming languages. A famous one is Arduino.
Personally I like to use MicroPython, which is a version of Python for microcontrollers. It’s used in many schools and universities to teach about microcontrollers.
ESP32’s can be programmed with C, C++ or other programming languages as well for more advanced projects.
Choosing the IDE
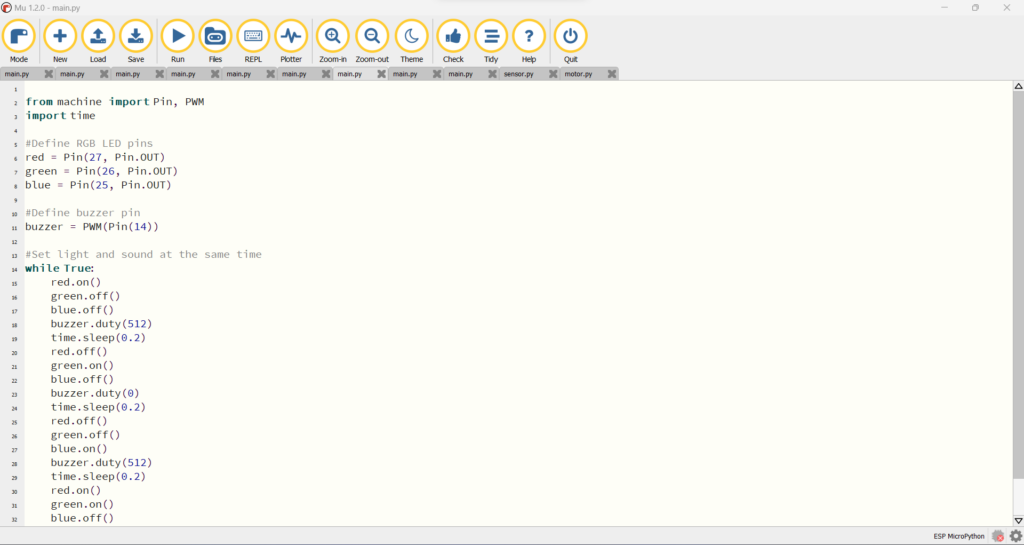
Many IDE’s exist for MicroPython. I’ve tried out a few the last years, but the most user friendly one for me is Mu Editor, so that’s the one we will use for this tutorial. For more advanced projects, more advanced IDE’s exist.
The example below does not contain the code we used for this project. The screenshot is just to show Mu Editor.
Installing ESP32 drivers on your computers
Depending on your operating system, you may need to install some drivers. I recommend to first try without and to first follow the steps below.
In case the ESP32 is not recognized by your computer, please read point 6 of the ESP32 troubleshooting guide by Random Nerd Tutorials.
Installing MicroPython on the ESP32 chip
We need to install Mu Editor and flash MicroPython to the ESP32 chip. For this part we refer to the great blog Random Nerd Tutorials. Follow the steps in the blogpost below.
MicroPython: Program ESP32/ESP8266 using Mu Editor | Random Nerd Tutorials
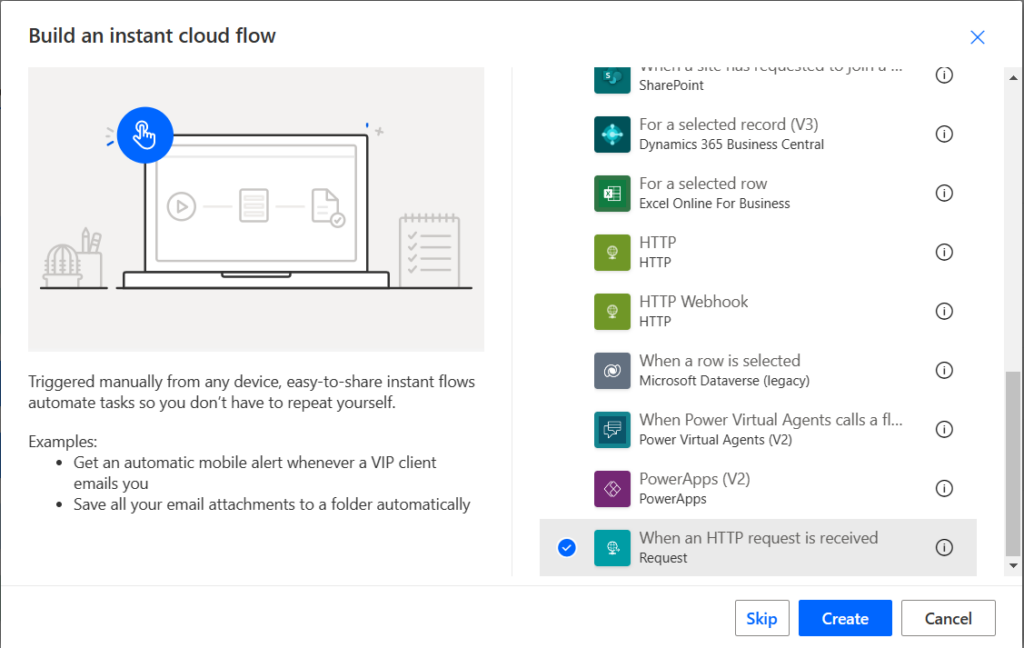
Creating the flow to trigger with HTTP request from the ESP32
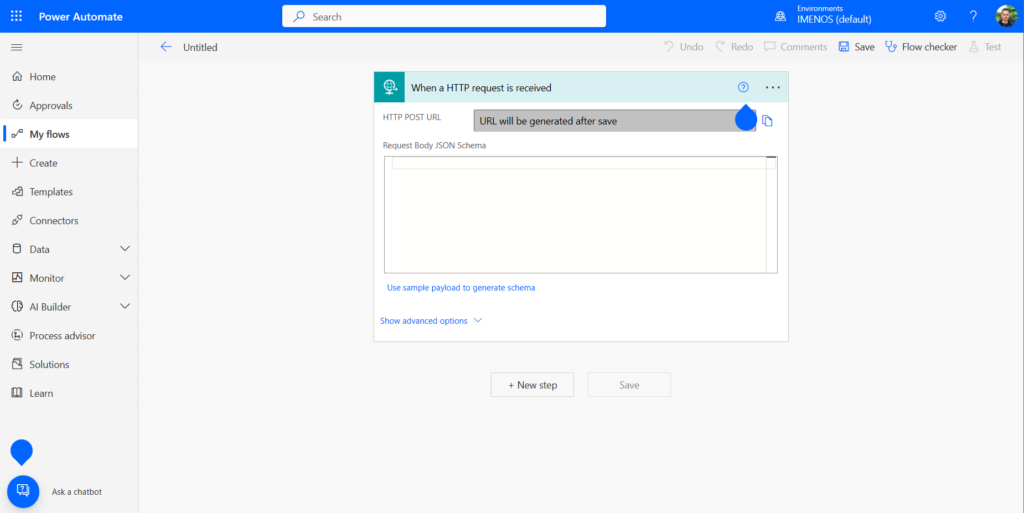
Create an instant flow with the trigger “When a HTTP request is received”.
Below you can configure the JSON schema. Adapt it to be able to receive temperature data.
Connecting the temperature sensor to the ESP32
This part will follow soon.
Writing the MicroPython code to run on the ESP32
This part will follow soon.
Please complete the post